...Open a New Project
-
Click the Open New Project button in the top right of the screen.

Fill in the information on the first screen (all information is required).
Use the Project Number Assignment drop-down to select how the project number is assigned. The options are:
- Auto-generate next project number - This will be the option you use 99% of the time. This will create the project with the next available project number for the year and month selected in the Next Project Number Starting With... drop down.
- Use project number... - you must enter the project number that you wish to generate.*
- Sub-project of... - Select the master project for which this is a sub-project. The generated project number will be the master project number followed by a single letter (the next available letter that hasn't been used).
*NOTE: If you try to create a project with a project number that already exists, you will get an error message and the project will not be created.
- Select the client using the Client drop-down. If the client is not listed, you can use the to quickly add a new client.
- Fill in LOI, Incidence, and Total N. If you do not know these values, you can enter 0 and update those at a later date.
- Click Open Project and Add More Details to create the project and open the Update Project screen for this project where you can enter in any remaining details.
When you open a project, that project is automatically added to your Summary View.
...Make Changes to a Project
You can make changes to an existing project by clicking on the
Update Project link at the top, choosing the project you wish to edit in the project selector, and then clicking on
Edit Project. Alternatively, from the
Project Summary screen, you can click on any of the projects in your summary which will take you to the
Update Project screen for the project.
When a user is added as the Project Director, Primary Web Programmer, Clean Programmer, or Tables Programmer that project is automatically added to their Summary View
...Close/Cancel/Hold/Re-open a Project
Go to the
Update Project screen (See ...Make Changes to Project in this FAQ). At the top of this screen, you'll see 4 pills -- 1 blue and 3 gray.

These will be labeled Open/Opened, Close/Closed, Cancel/Cancelled, and Hold/On Hold depending on the current status. Further, the current status will have a blue background and the others will be gray. To change the status, simply click on the appropriate pill.
- For Open, Cancel, and Hold, you will be presented with a confirmation box.
- Additionally, Cancel and Hold allow you to optionally enter a reason/note.
- The Close button will also offer a confirmation box, but then will take you to a screen that allows you to enter in final numbers.
- The project is not closed until this final screen is submitted.
...Use the Project Selector
The
Project Selector (see image below) is used on various screens to select a project. There are 2 drop-downs used to filter the project list drop-down. The
Project Year: drop-down allows you to filter the project list for a specific year or for general projects (00...) or for special projects (SP...). The
Client: drop-down allows you to filter the project list for a specific client. Using these separately or in conjunction aids in finding a project in the project list. The
Switch to Different Project text and
Edit Project button may be different depending on which screen the
Project Selector is used.

...Add a New Client Contact
Click on the
Lists menu, then the
Contact List item. On the left of the screen will be the
Add Contact form. Fill in the informatation for the new contact. The following fields are required:
- Client
- First Name OR Last Name
- Email address OR Primary Phone Number
Once all information is entered, click on the
Add button to add the contact.
...Edit/Change a Client Contact
Click on the Lists menu, then the Contact List item. On the left of the screen will be the Add Contact form.
Find the contact you wish to update using the navigation or search features of the GridView. Click on the icon next to the contact you wish to update. This will change the form on the left from an Add Contact form to an Update Contact form and fill in the information for the contact you just clicked. Make the changes required and click on the Update to save your changes or the Cancel button to cancel all changes.
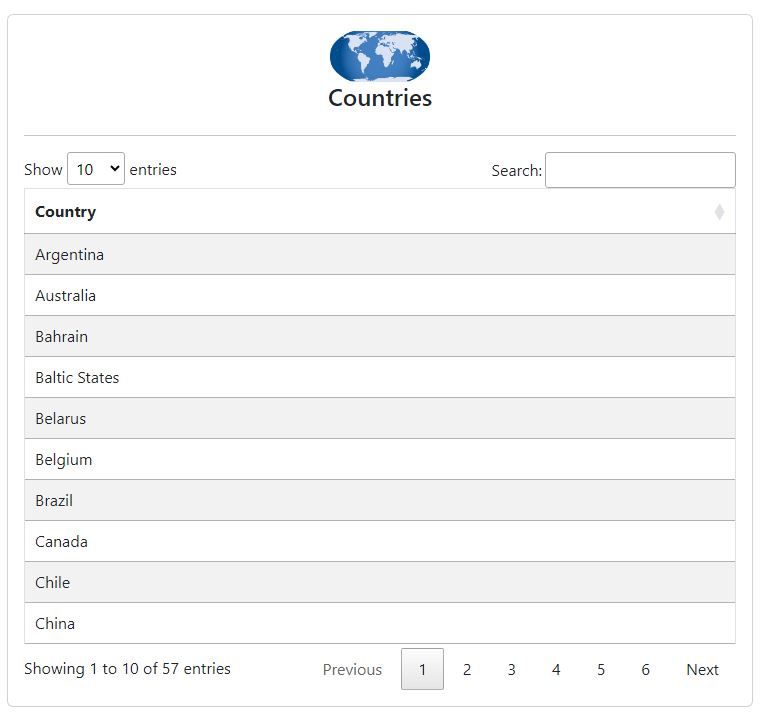
...Use the GridView Tables
Most information presented in the GGR Project Management application uses a GridView (see example below). Information is presented in tabular format with options to sort, limit the number or records to show and to search.
Sort - to sort a GridView, click on the up ()or down () arrows to the far right of each column's header text. Doing so will sort the GridView ascending or descending respectively on that column.
Navigating - At the bottom of the GridView, there will be a footer with information on entries being shown and navigation buttons. Use the Previous and Next buttons to move 1 page at a time forward or backward respectively. Clicking on any of the page numbers will jump directly to that page.
Number of entries per page - Use the Show XXX entries drop-down to change the number of rows to display on each page.
Search - Use the Search text box to search for rows containing the text you enter. Note, the search is not case sensitive and will search all columns as well as all visible and hidden rows.
...Enter My Time Using Grid Format — Enter Time
The grid format time entry allows you to enter time for multiple events. You do this by adding a row for each event and updating the number of hours spent on that event for that day. After clicking on
Enter Time , you will be presented with a page with 3 pill buttons at the top and a date picker (
Enter Time for...). Use the date picker to pick the date for which you wish to enter your time. To add new rows, do one of the following:
- Click on the Copy From Another Day pill. This will ask you for a day from which to copy all the projects/activities. Each project/activity from that day will be added to this day with a time of 0.0. You can do this as many times as you like. Once you have finished, you can fill in the times for any projects/activities you worked on for the date you are entering time for.
- Click on the New Row pill. This will present you with the Project Selector control, a drop-down to select an activity, and a text box to enter in hours. Select the project/activity you wish to add and optionally enter the hours and then click on the Add button to add that row. You can enter hours in 1 of 3 ways:
- Manually type in the number of hours into the text box
- Click on the hours to the right of the text box to copy the hours remaining into the text box
- Enter a start and end time. The elapsed time will automatically be added to the Hours text box.
If, at the end of the day, you have rows that have 0.00 hours in them, you can click the Remove If Time is 0.00 pill at the top. Answering "yes" to the confirmation will remove any entries with 0.00 for the displayed date. It is ok to leave in the 0.00 rows.
...See How Much Time Was Spent On A Project
Use the Reports | Project Billing Report link to review the total time spent on a specific project. This will present a breakdown of total hours, billable vs. non-billable hours, hours by user, and hours by department. If the project has sub-projects, 3 additional reports wil be run with the same information broken down by each sub-project.
...See Summary Of Time Entered
Use the Reports | Weekly Summary link to review time for this week or any past weeks.
...Enter Out Of Office Time
Out of Office (vacation, personal time, etc.) can be entered in 1 of 2 ways:
- Use Enter Time method and add a row for the out of office reason and put in the number of hours for that day/OOO reason.
- Use the Reports | Vacation/Personal Time/etc. link to enter the time more quickly.
With this method, you specify the start date, end date, and reason for being out of office. After clicking Add Out of Office, entries will be added for all dates between Start Date: and End Date: inclusively with the specified Reason: and 7.0 hours. Saturday's and Sunday's will not be added.
...Return to the Project Manager
Click on Close Timesheet link to return to the Project Management functions.